SEARCH
Enter keywords, product name, or question
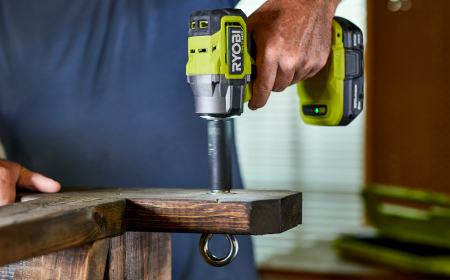
1. Ensure the Battery Is Removed
Remove the battery before making any adjustments or installing accessories to prevent accidental start‑up
2. Install the Collet and Bit
The tool supports two collet sizes:
- 3.2 mm (1/8") (this is installed in the tool by default)
- 6.35 mm (1/4")
a) Locate the Collet Wrench
The wrench is located on the back of the depth guide.
- Lift the tool‑free depth adjustment lever, slide the depth guide out, and remove the wrench from the back of the guide.
b) Opening the Spindle Lock
- Press the spindle lock (the light grey button on the side of the tool) and use the wrench to loosen the collet nut by turning it anti‑clockwise.
- Once the collet nut is loosened (full removal is not required), insert the appropriate rotary cutting bit.
- Tighten the collet nut securely by turning it clockwise with the wrench while holding the spindle lock
c) Reinstall the Depth Guide & Set the Cutting Depth
- Open the tool‑free depth adjustment lever and reinstall the depth guide.
- Adjust the guide so the tip of the cutting bit protrudes slightly beyond the thickness of the plasterboard (or plywood).
- Lock the tool‑free depth lever firmly.
RDWC18