SEARCH
Enter keywords, product name, or question
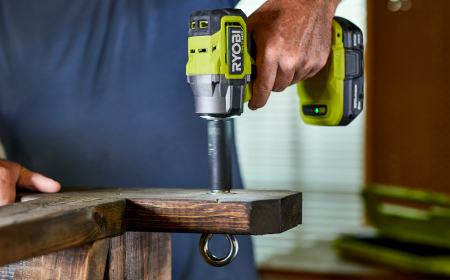
1. Prepare the tool
- Remove the battery from the drill.
- Check the bit: use a screwdriver bit that matches the screw head (e.g. Phillips, flathead).
- Insert the bit into the keyless chuck and tighten it securely by hand.
- Ensure the battery is charged and properly inserted into the drill driver.
2. Set the direction
- Locate the direction of rotation selector, which is positioned above the trigger.
- Push it to the reverse position (often marked with an arrow pointing away from the chuck).
3. Adjust speed and torque
- Rotate the torque adjustment ring to a medium or high torque setting to ensure enough force to loosen the screw.
4. Remove the screw
- Gently squeeze the variable speed trigger to start the drill.
- Apply steady pressure in line with the screw.
- Once the screw loosens, reduce speed and remove it completely.
5. After removal
- Release the trigger.
- Switch the direction selector back to forward if needed.
- Remove the bit and battery. Store the tool safely.
RDD18C1, RDD18, RDD18C, RPD18C, RPD18X, RPD18, RPD18C1, RPD18X1